Getting Started
NOTE: These steps only apply to people involved with the Lab. For the first time adding content & getting set-up, it will take longer than usual.
Create a GitHub account
- Go to GitHub
- Click on Sign up (& follow the steps). Note: Choose the Free Subscription.
- Remember to verify your email address (in order to start using GitHub’s features).
Set up two-factor authentication (2FA)
For a step-to-step guide on how to set-up 2FA
- In the upper-right corner of any page, click on your profile photo -> Settings -> Security -> scroll to Two-factor authentication, choose the appropriate method for you (& follow the steps).
- Click on
- On the Two-factor authentication page, either click on Set up using an app OR click on Set up using SMS.
- Download & save your recovery codes in a safe place so that you can recover your account if you lose your 2FA credentials.
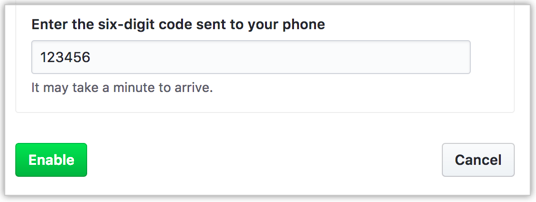
- You’ll then be re-directed to the next page where depending on the authentication method you have chosen you’ll either need to fill in your mobile number (for sms) OR needing to scan the QR code (for app). Either way, once you receive the code after following the steps, enter it in the section (as shown below) & click Enable when done:
- Contact one of the
Service Innovation Lab'srepository admins (ie.BrendaorJacob) & they will add you to the team on github. You’ll receive an invitation by email. Go to your email and accept the invitation.
Adding your picture & profile to the team page
Adding a Photo
- Navigate to the Toolkit’s repository. (Open the link in a new tab/window)
- Scroll down the repository list & click on
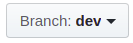
serviceinnovationlab.github.io. - Ensure that you are on the dev branch
 , then navigate to assets/img/team.
Click on assets->img->team.
, then navigate to assets/img/team.
Click on assets->img->team.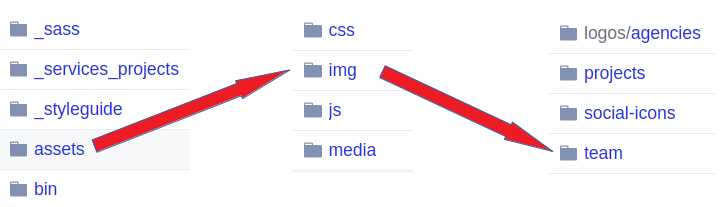
Note: Before adding your picture, you’ll need to have it saved locally on your machine as firstname-lastname (please ensure that your picture is in jpg format).
- Click on Upload files
 Note: Currently, the Edge web browser on DIA devices are not able to upload files.
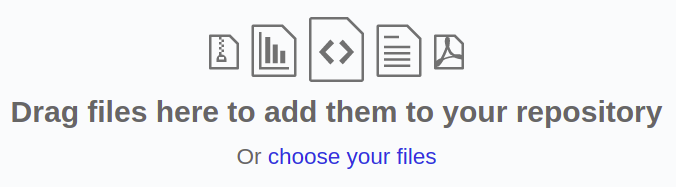
- Scroll to the bottom of the page.
- Enter a Commit message (compulsory) briefly saying what you did (eg. Added a profile picture for Jacob).

- Enter a further extended Description (optional) for your changes.

- Below that, type in a meaningful name (eg.
added-profile-image-jacob) for the branch which you are creating. Note: Branch names should be in lowercase & a hyphen should be used instead of spaces.
- Click on

- You should then be re-directed to another page entitled Open a pull request.
- See Creating a Pull Request (at bottom of page).
Creating your Team Profile
- Navigate back to the Toolkit’s repository. (Open the link in a new tab/window)
- Ensure that you are on the dev branch, then navigate to _authors.
- Click on the Create new file button. In the textfield which appears (at top of page beside the file path breadcrumb), type in your name in this format
firstname-lastname.md(eg. jacob-ong.md). Note: File names should be in lowercase & a hyphen should be used instead of spaces. - Copy the below code & paste it in the textfield in your file (change the details to yours):
---
name: jacob-ong
first_name: Jacob
last_name: Ong
full_name: Jacob Ong
role: Developer
image: "/assets/img/team/jacob-ong.jpg"
active: true
---
- Scroll to the bottom of the page.
- Enter a Commit message (compulsory) saying what you did (eg. Added team profile for Jacob).
- Enter a further extended Description (optional) for your changes.
- Below that, type in a meaningful name (eg.
adding-team-profile-jacob) for the branch which you are creating. Note: Branch names should be in lowercase & a hyphen should be used instead of spaces. - Click on
- You should then be re-directed to another page entitled Open a pull request.
- See Creating a Pull Request (at bottom of page).
Creating a Pull Request (PR)
You’ve added an image/some content. Now you’ll need to create a PR to let the reviewers know that your image/content is ready for review.
- You should see your commit message & description carried across & appearing in the text fields.
- Click on
 & select
 JacOng17>hurstonnzfrom the list. Note: It is good practice to have at least 2 people to review your PR. Once done, click on the Create pull request (green button). - You will then be redirected to the page showing your PR.

Your Pull Request (PR) should be “sent” to the reviewers that you have chosen to review (once it’s approved you should see your changes on the Live site).
If you navigate away from that page & would later like to track your PR’s status, click on the Pull requests tab & you can find it there.
Note: Before your PR can be merged into the main branch, it will have to pass:
1. The automated checks
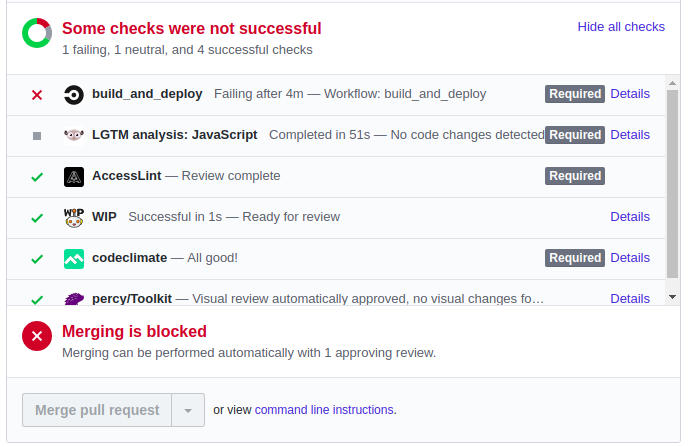
Example of an unsuccessful check:
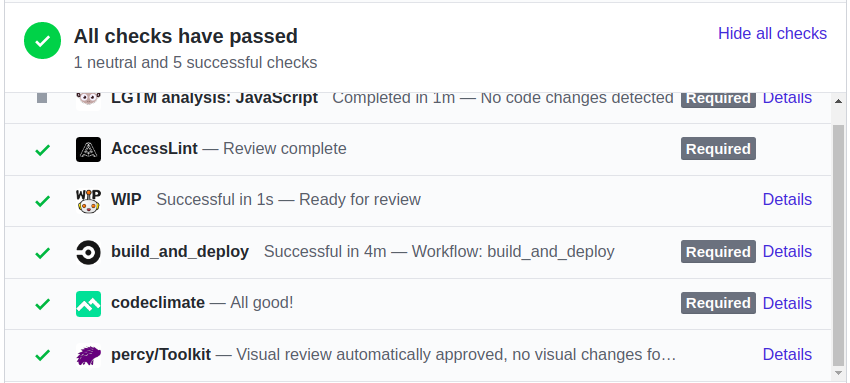
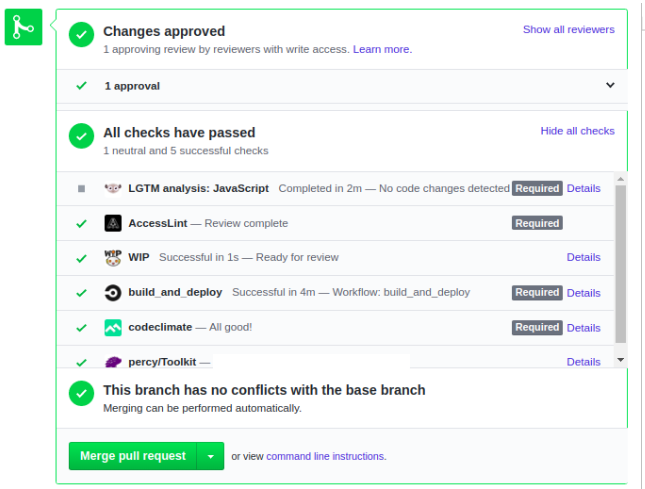
Example of a successful check:
 2. The reviewers’ approval.

When Steps 1 & 2 have passed, you should see something similar to this:
Note: The person creating the PR has the responsibility of:
- Checking/following-up on the status of the review;
- Fixing any changes to be made before approval;
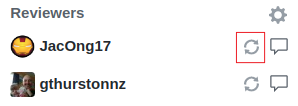
Note: If you have any changes that you need to fix, you’ll need to Re-request a review from the reviewers (by clicking on the icon highlighted in the red square below) after you have made the changes requested.
- And clicking on
 & ensuring that no errors occur (eg. warning message, etc…)
Checking if your changes have been deployed
- Navigate to the Toolkit’s repository. (Open the link in a new tab/window)
- Scroll down to the README.md section & look for the CircleCi badge.
- If the build Passed
 , navigate to the Live site (open link in a new tab/window) & check that your content has been published.
 - If the build Failed
 , contact either
 BrendaorJacob.
If something does “break”/error occurs & you’re unsure of how to fix it, contact either Brenda or Jacob & they should be able to help you out.
Back to: Creating your Team Profile